

Recommended Products
How to Draw Up Medication From a Vial
Before You Begin
Gather your supplies:
- Medication vial
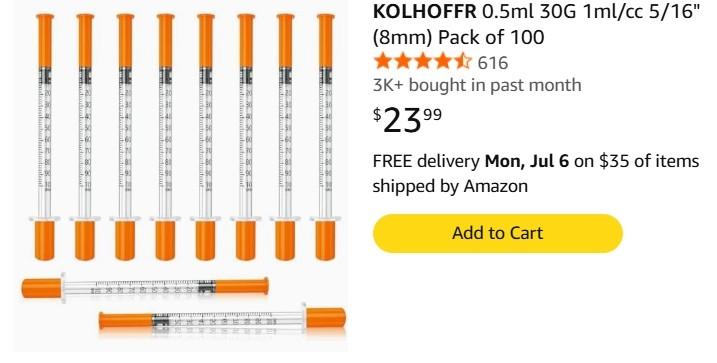
- Syringe and needle
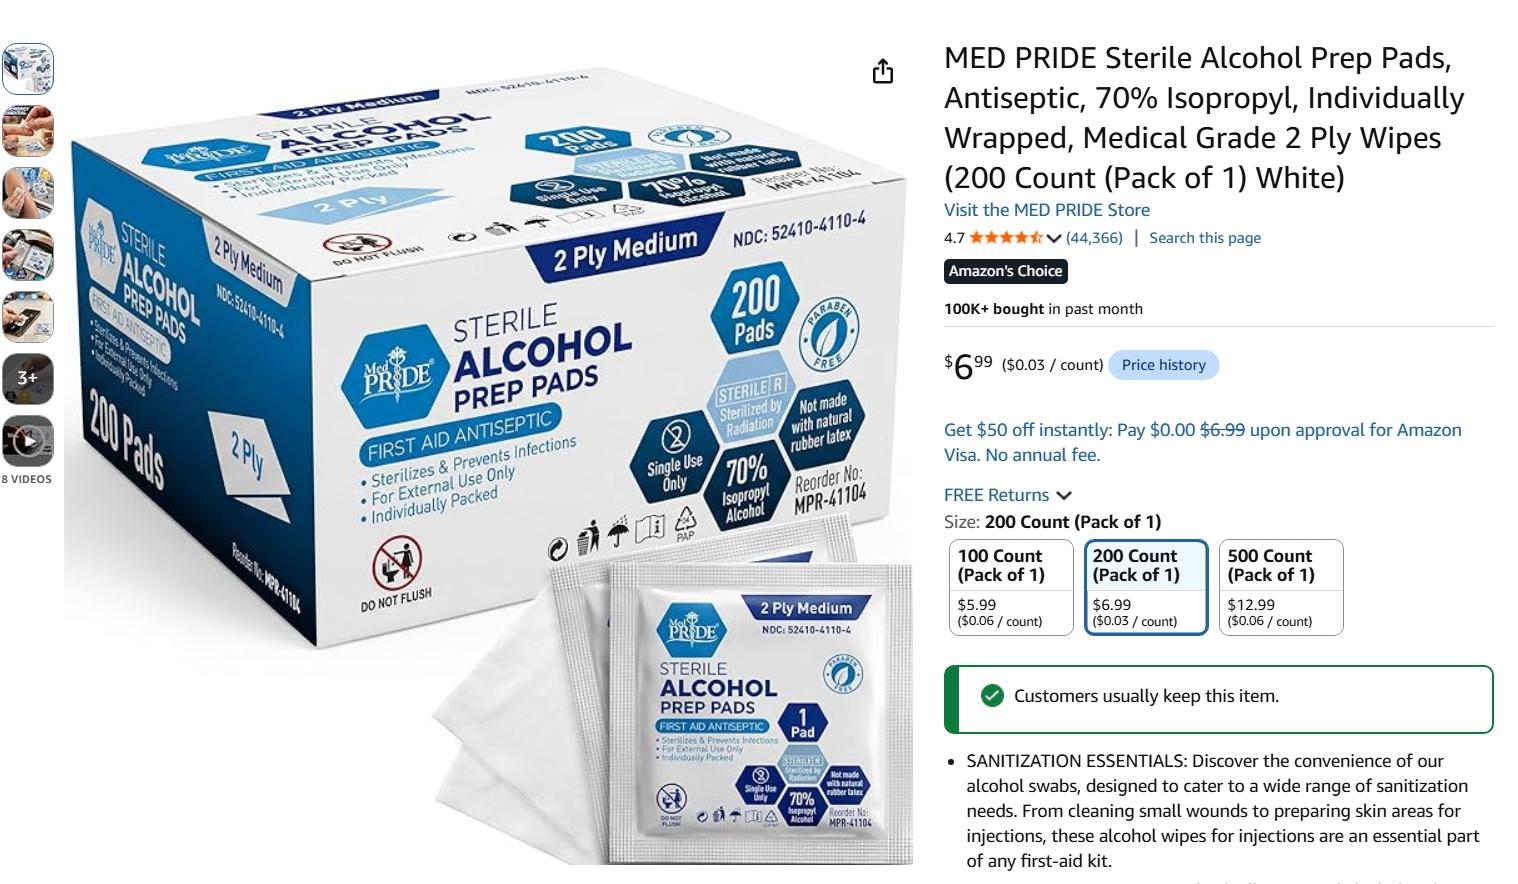
- Alcohol prep pad
- Clean surface
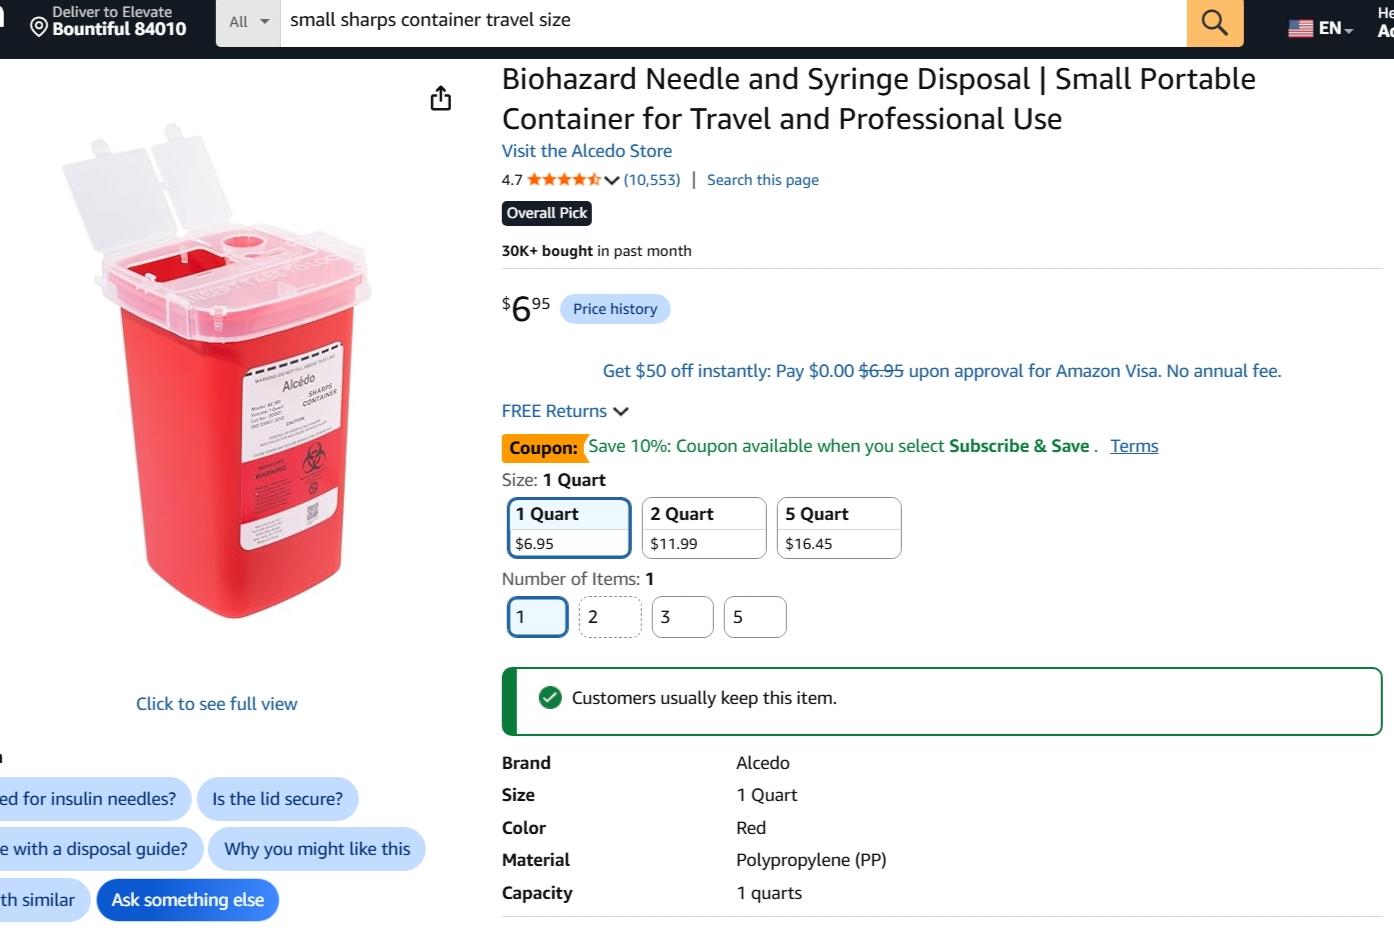
- Sharps container
Always wash your hands thoroughly with soap and water before handling your medication.
Step 1: Check Your Medication
Before every injection:
- Verify the medication name.
- Confirm the dose prescribed for you.
- Check the expiration date.
- Make sure the liquid is clear unless your provider has instructed you otherwise.
- Do not use medication that is cloudy, discolored, leaking, or has particles floating in it.
Step 2: Clean the Vial
Remove the plastic cap if this is the first use.
Wipe the rubber stopper with an alcohol pad for at least 10 seconds. Allow to air dry.
Step 3: Prepare the Syringe
Remove the needle cap without touching the needle.
Pull back the plunger to the amount of medication you will be injecting. This fills the syringe with air.
Step 4: Insert the Needle
Push the needle straight through the center of the rubber stopper.
Inject the air into the vial.
Adding air makes it easier to draw out the medication.
Step 5: Draw Up the Medication
Turn the vial upside down while keeping the needle inside.
Make sure the tip of the needle stays below the surface of the medication.
Slowly pull back on the plunger until you reach your prescribed dose.
Step 6: Remove Air Bubbles
If you see bubbles:
- Gently tap the syringe.
- Push the bubbles back into the vial.
- Slowly redraw the medication until you have the correct amount.
Small tiny bubbles are usually not harmful, but larger bubbles should be removed whenever possible.
Step 7: Double Check Your Dose
Before removing the needle:
- Confirm the syringe contains the correct amount.
- Remove the needle from the vial.
- Replace the needle cap only if instructed by your provider or if you are changing needles before injection.
Your medication is now ready for injection.
How to Give Yourself a Subcutaneous Injection
Subcutaneous (SQ) injections deliver medication into the fatty tissue just beneath the skin.
Most weight loss medications and many peptides are given this way.
Best Injection Sites
Rotate your injection sites each time.
Recommended areas include:
- Abdomen (at least 2 inches away from your belly button)
- Front of the thigh
- Back of the upper arm (if someone is helping)
- Love handle area
Avoid:
- Bruises
- Scars
- Stretch marks
- Red or irritated skin
- Areas that are sore
Step 1: Clean the Skin
Wipe the injection site with an alcohol pad.
Allow it to dry completely.
Step 2: Pinch the Skin
Gently pinch a small fold of skin between your fingers.
This lifts the fatty tissue away from the muscle.
Step 3: Insert the Needle
Insert the needle in one smooth motion.
Most insulin syringes are inserted at a 90-degree angle.
If you have very little body fat, your provider may recommend a 45-degree angle.
Step 4: Inject the Medication
Slowly push the plunger until all medication has been injected.
Count to five before removing the needle.
Step 5: Remove the Needle
Pull the needle straight out.
Apply gentle pressure with gauze or a tissue if needed.
Do not rub the area.
A small drop of blood or medication is normal.
Rotate Injection Sites
Changing injection sites helps reduce:
- Bruising
- Irritation
- Scar tissue
- Lumps under the skin
Rotate around the abdomen or alternate sides of the body.
How to Safely Dispose of Needles and Syringes
Never throw loose needles into the household trash.
Used needles can injure others and spread infection.
What You Need
Use an FDA-cleared sharps container whenever possible.
If one is not available, you may temporarily use a heavy-duty plastic container that:
- Has a tight-fitting lid
- Is puncture resistant
- Does not leak
- Can stand upright
Examples include a thick laundry detergent bottle or bleach bottle.
Do not use glass containers.
After Every Injection
Immediately place the entire syringe and needle into your sharps container.
Do not:
- Bend needles
- Break needles
- Cut needles
- Attempt to remove the needle from the syringe unless instructed
Never reuse needles or syringes.
Keep Your Sharps Container
Store it:
- Out of reach of children
- Away from pets
- In a secure location
- Upright whenever possible
When the Container Is Full
When it is about three-quarters full:
- Seal the lid tightly.
- Follow your local disposal guidelines.
Many pharmacies, hospitals, and community collection sites accept filled sharps containers.
Never Place Needles In
- Recycling bins
- Loose household trash
- Public trash cans without a sharps container
- Toilets or drains